
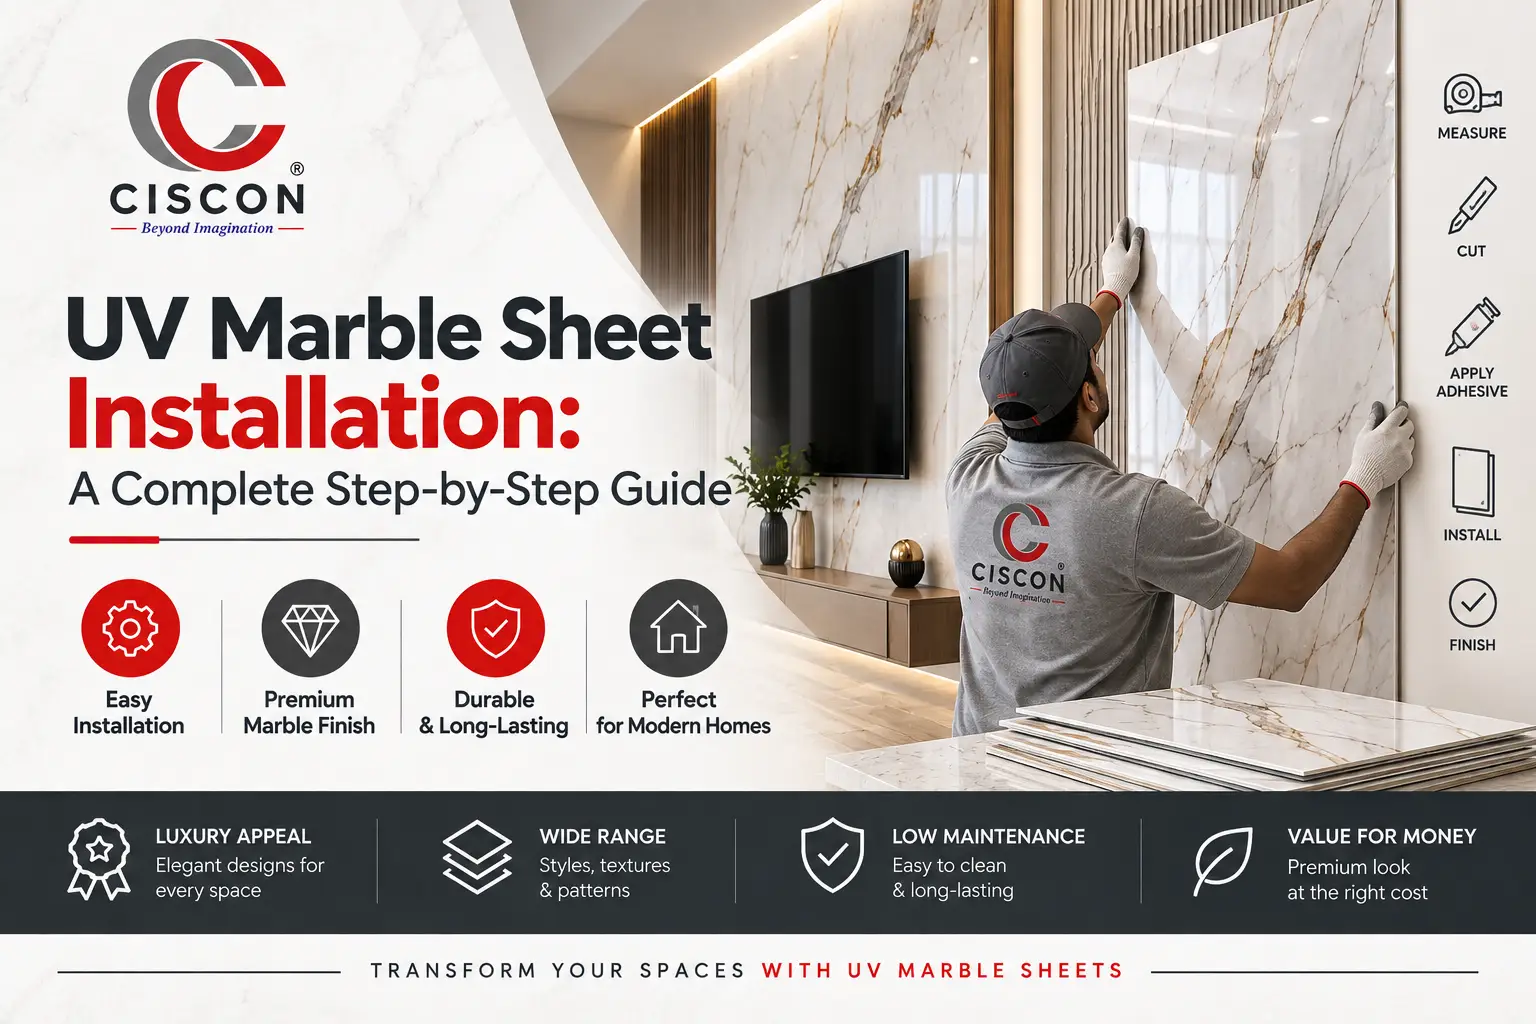
UV Marble Sheet Installation: A Complete Step-by-Step Guide
If you’re planning to upgrade your walls with a marble-like finish without the weight, cost, or upkeep of natural stone, UV marble sheet installation is one of the fastest-growing choices among Indian homeowners and interior contractors. These PVC-based decorative panels replicate the look of polished marble while staying lightweight, waterproof, and budget-friendly. This guide walks you through the entire UV marble sheet installation procedure — from tools and adhesives to a detailed, step-by-step application process — so you get a smooth, long-lasting finish whether you’re doing it yourself or briefing a contractor.
Quick Answer
UV marble sheet installation involves preparing a clean, dry, and level wall surface, applying a suitable adhesive (or using mechanical fixing for larger panels), positioning the sheet carefully to avoid air bubbles, pressing it firmly into place, and sealing the edges. A basic wall panel installation typically takes 3–6 hours depending on wall size and surface condition.
Key Takeaways
What Is a UV Marble Sheet?
A UV marble sheet is a decorative PVC panel finished with a UV-cured protective coating that replicates the veining and gloss of natural marble. The UV layer makes the surface scratch-resistant, moisture-resistant, and colour-stable under sunlight, unlike laminate sheets that can yellow or fade over time. Unlike natural marble slabs, which are heavy, porous, and expensive to transport and install, UV marble sheets are lightweight (making handling and fixing far easier), factory-finished (no polishing needed on-site), and available in large format sizes that reduce visible joints. Key Takeaway: A UV marble sheet gives you the visual richness of marble with none of the installation complexity of natural stone.
Why UV Marble Sheet Installation Is Gaining Popularity
Interior designers and homeowners across India are increasingly choosing UV marble sheets for feature walls, false ceilings, and commercial interiors because the UV marble sheet installation process is quicker and less disruptive than stone masonry work. Compared to natural marble cladding, which requires skilled masons, heavy equipment, and days of curing time, UV marble sheets can be fixed in hours using standard carpentry or adhesive-based tools. This makes them a practical choice for:
Expert Insight: In practical experience, the biggest driver behind this shift isn’t just cost — it’s predictability. Natural stone can vary in shade and veining between slabs, while UV marble sheets offer consistent batch-to-batch uniformity, which matters a lot when matching a large wall or multiple rooms.
- Renovation projects with tight timelines
- Commercial spaces that can’t afford extended downtime
- Homeowners who want a premium look on a mid-range budget
Tools and Materials Required
Before starting how to install UV marble sheet on wall, gather the following:
Tools
- Measuring tape and spirit level
- Pencil or marker for marking cut lines
- Fine-tooth handsaw or jigsaw for cutting sheets
- Notched trowel (for adhesive spreading)
- Rubber mallet or hand roller
- Caulking gun (for sealant)
- Drill with mixing attachment (if using adhesive that needs mixing)
- Safety gloves and dust mask
Materials
- UV marble sheets (measured and pre-ordered to size)
- Wall adhesive suitable for PVC panels (polymer-based or PU adhesive)
- Silicone sealant for edges and joints
- Wooden or aluminium battens (for uneven or damp walls)
- Screws and wall plugs (if using mechanical fixing)
- Edge trims or beading for a finished look
| Item | Purpose | Notes |
|---|---|---|
| PU/Polymer Adhesive | Bonds sheet to wall | Choose based on wall type |
| Battens | Creates a level fixing base | Recommended for uneven walls |
| Silicone Sealant | Seals joints, prevents moisture entry | Apply after sheet placement |
| Edge Trims | Finishes exposed edges | Improves durability and aesthetics |
Wall Preparation Before Installation
Wall preparation means cleaning, levelling, and drying the surface completely before any adhesive or fixing method is applied — skipping this step is the leading cause of bubbling, poor adhesion, and premature panel failure. Follow these preparation steps:
UV Marble Sheet Adhesive Installation Explained
UV marble sheet adhesive installation is the most common fixing method for interior walls, particularly for smaller panels and accent walls. How it works:
- Apply adhesive evenly on the back of the sheet or directly on the wall using a notched trowel, ensuring uniform ridges for even bonding.
- Position the sheet against the wall, aligning it with your marked reference lines.
- Press firmly from the centre outward using a rubber mallet or roller to eliminate trapped air.
- Hold or brace the panel until the adhesive sets (check manufacturer’s specified curing time).
Adhesive selection depends on your wall type:
Expert Tip: For walls taller than 8 feet or in high-humidity areas like kitchens and bathrooms, combining adhesive with mechanical fixing (screws with cap covers) adds long-term stability that adhesive alone may not guarantee.
Adhesive Selection by Wall Type
| Wall Surface | Recommended Adhesive Approach |
|---|---|
| Cement/Plastered wall | Polymer-based PVC adhesive |
| Plywood/MDF base | PU adhesive or contact adhesive |
| Gypsum board | Lightweight adhesive with mechanical screw support |
| Damp-prone areas | Waterproof adhesive with primer pre-treatment |
Step-by-Step UV Marble Sheet Installation Process
This is the core UV marble sheet installation step by step sequence used for most residential and commercial wall applications.
Best Practices & Common Mistakes
Best Practices
- Always allow adhesive to reach room temperature before application; cold adhesive spreads unevenly.
- Leave small expansion gaps between panels, especially in rooms with fluctuating temperatures.
- Work from a fixed reference point (usually the most visible corner) to keep the pattern visually consistent.
- Use a rubber roller rather than excessive mallet force to avoid surface dents.
- Test adhesive compatibility on a small hidden section first if you’re unsure about the wall surface.
Common Mistakes
- Skipping wall preparation — leads to poor adhesion and bubbling over time.
- Ignoring moisture levels — fixing panels on a damp wall causes warping and mould.
- Uneven adhesive spreading — creates hollow spots that weaken the bond.
- No expansion gaps — panels can buckle when temperatures change.
- Rushing the pressing stage — trapped air pockets become visible bubbles once the adhesive cures.
Myths vs Facts
| Myth | Fact |
|---|---|
| UV marble sheets need the same installation process as natural marble | They are far lighter and can be fixed with adhesive or mechanical methods, no masonry required |
| UV marble sheets can be installed on any wall without prep | Wall cleaning, levelling, and moisture checks are essential regardless of wall type |
| Only professionals can install UV marble sheets | Small accent walls are DIY-friendly; large or complex areas benefit from professional fixing |
| UV coating wears off quickly | UV-cured coatings are specifically designed to resist fading and scratching over years of use |
DIY vs Professional Installation
DIY installation works well for small, flat accent walls with straightforward layouts, while professional installation is recommended for large walls, curved surfaces, high-moisture areas, or projects requiring precise pattern matching.
DIY Installation
Advantages
- Lower labour cost
- Flexible scheduling
- Suitable for small feature walls
Disadvantages
- Higher risk of misalignment or bubbling without experience
- Time-consuming for larger areas
- Limited access to professional-grade tools and adhesives
Professional Installation
Advantages
- Precise cutting and alignment, especially around fixtures
- Correct adhesive selection based on wall assessment
- Faster turnaround for large-scale projects
Disadvantages
- Higher upfront labour cost
- Requires scheduling coordination
Applications, Trends & Expert Tips
Industry Applications
- Residential living rooms, bedrooms, and false ceilings
- Kitchen backsplashes and bathroom walls (in moisture-resistant grades)
- Office cabins, reception areas, and meeting rooms
- Hotel lobbies and retail showroom interiors
Latest Trends
- Large-format sheets that minimise visible joints for a near-seamless marble look
- Combination installations, pairing UV marble panels with charcoal louvers or liquid metal panel accents for layered wall designs
- Matte and satin UV finishes alongside traditional glossy options, catering to minimalist interior styles
- Faster-curing adhesives that reduce total installation time on commercial projects
Expert Tips
- Always order slightly extra material (5–10%) to account for cutting wastage and future repairs.
- Store sheets flat, away from direct sunlight, before installation to prevent warping.
- For kitchens and bathrooms, confirm you’re using a moisture-resistant grade panel and adhesive combination.
- Request installation guidance from your supplier — adhesive type and wall prep recommendations can vary by product batch.
Frequently Asked Questions
Quick answers to common UV marble sheet installation questions.
It's the process of fixing UV-coated PVC marble-effect panels onto a wall using adhesive or mechanical fixing, after proper surface preparation, to create a marble-like finish.
A single accent wall typically takes 3–6 hours, while larger rooms or commercial spaces may take one to two days depending on wall condition and panel count.
Yes, in most cases, provided the tile surface is clean, level, and adhesion is tested beforehand. Uneven or loose tiles should be corrected first.
A polymer-based or PU adhesive designed for PVC panels works best on cement and plywood surfaces; always match adhesive to your specific wall type.
Yes, provided you use a moisture-resistant grade sheet and waterproof adhesive, along with sealed joints to prevent water seepage.
Minimal maintenance is needed — regular dusting and occasional cleaning with a soft cloth and mild detergent keeps the glossy finish intact.
Yes, they can be cut on-site using a fine-tooth handsaw or jigsaw, making them adaptable to irregular wall dimensions and cutouts.
Costs vary based on sheet size, design, wall condition, and whether you hire professional labour; contacting a supplier directly gives the most accurate project-based estimate.
Natural marble requires masonry work, heavy equipment, and curing time, while UV marble sheets use lightweight adhesive or mechanical fixing methods completed in hours, not days.
Yes, they are commonly used on false ceilings, typically with a combination of adhesive and mechanical support for added stability overhead.
A measuring tape, spirit level, notched trowel, fine-tooth saw, rubber roller, and caulking gun cover most standard installation needs.
Conclusion
A successful UV marble sheet installation comes down to three fundamentals: thorough wall preparation, the right adhesive for your surface, and careful, methodical panel placement. Whether you’re refreshing a single accent wall or fitting out a commercial space, following a structured UV marble sheet installation step by step process helps you avoid the common pitfalls — bubbling, misalignment, and adhesive failure — that come from rushing the job. If you’d rather leave the UV marble sheet installation procedure to experienced hands, Ciscon Decor’s team can guide you through product selection and fixing recommendations suited to your specific wall and space.